Pages

Showing posts with label Montessori - Science. Show all posts

Thursday, August 27, 2015

sunflowers: flower study part 2

Elise and I have spent the past few weeks doing a "flower study."  Read part 1 here!

I've decided to try dedicating a little space in our classroom
each month to a special song or poem.
(Yes!  Elise has her own classroom now - I'll share more soon!)
From the classroom window, we are able to see dozens of sunflowers
and watch goldfinches and chickadees feasting on their seeds.
A sunflower song seemed like the perfect first choice...

Sunflower by Sanford Jones
Sunflower, sunflower yellow and round.
You are the prettiest flower I've found.
Tall, straight, full of grace...
I love the light in your bright yellow face!

This song can also be played on the Montessori bells.  


We are using this homemade sunflower puzzle
to learn the names of the parts of the sunflower plant:
roots, stem, leaves, and flower.
(An older child may enjoy labeling the parts or matching 3 part cards like these.)


The puzzle pieces all button together,
which is great because Elise is in a sensitive period for buttoning!


One morning, after buttoning the petals to the seed part of the flower,
we decided to go investigate some real sunflower seeds...


See?  We've even got sunflowers growing out of the sidewalk!


We watched bees drinking nectar and gathering pollen...


And observed that some of the flowers were missing seeds
- could it be the goldfinches?!


We chose a few flowers that were done blooming to cut and bring inside.


We spent the afternoon pretending to be birds,
using tweezers to pull out seeds!

This was always a popular lesson in my classroom 
and it has been so much fun sharing it with Elise,
who eats all the seeds on the spot, of course! 

Tuesday, August 18, 2015

flower walk: a flower study intro


One of my favorite things about summer is the all the flowers.  I often find myself completely lost in thought over a sunflower - seriously, Hubs thinks I'm crazy!  It never ceases to amaze me that no matter how long or cold the winter, those plants wait patiently to burst into bloom for a month or two of summer - just the blink of an eye, you know?

Elise seems equally intrigued, so I decided to engage her in a little deeper exploration of our colorful environment. We kicked off our flower study with a simple, sensory experience - a flower walk around the neighborhood.  After filling a bag with snacks and supplies, we hit the sidewalk!

flower walk supplies:
  • field guides
  • notepad
  • magnifying glass
  • string for measuring plants and scissors for cutting the string
  • an assortment of markers, pens, and pencils

Of course, we ended up using our senses the most!  We smelled, touched (gently!), and delighted in all the different colors and shapes we observed.  Bees buzzed around us, and we pondered the orange powder coating their legs. Could it be the same stuff sprinkled on the inside of those blossoms? 


As we neared home, we stopped to suck the nectar out of few climbing honeysuckle blooms.  While we would never pick flowers from someone else's yard - gasp! - these are growing on a power line in an alley.  Totally okay, right? Anyway, we'd done this once before, but this time we were shocked to find that the flowers were empty!!!  Not even a tiny drop of nectar to be had!  We pulled out the Rocky Mountain Gardener's Guide and began to read about climbing honeysuckle.  Just as we got to the part about hummingbirds drinking the nectar, we heard a buzzing sound, and there was a hummingbird sipping from a flower right above our heads!  Oh, I so love moments like this!

Stay tuned for more flower adventures...

Tuesday, March 17, 2015

making tracks: a plaster cast tutorial

One of our favorite things to do on walks is look for tracks.  Since most wild animals are active during the early morning or evening - times when we're usually cozy at home - tracks are one of the best ways to observe who's been there and what they've been up to.  

A few weeks ago, we discovered several sets of deer tracks on the sidewalk outside our house.  We had so much fun following the tracks, imagining the family of deer that walked by while the neighborhood slept! 
I decided to build on this interest by making plaster casts of a few tracks with Elise that we could bring home. Something to actually hold in our hands and study!  

Here's how we did it:


What you'll need:

  • plaster of paris - we made 4 tracks and used about 2 pounds
  • water - we used less than our 32 oz bottle held
  • long strips of poster board - ours were about 3 x 18 inches 
  • paper clips - for fastening the poster board strips around the tracks
  • disposable bowls - for mixing the plaster
  • spoons - also for mixing the plaster
  • not pictured:  paper towels (this project is NOT as clean as I've made it look!!!) and bags for cushioning and transporting the finished casts 


^^ Find a track - the deeper and more well-defined the better! ^^


^^ Bend a strip of poster board into a ring slightly larger than the track, secure with a paper clip, and push securely into the ground. ^^


^^ Use a spoon to measure the plaster of paris into a bowl - we weren't too exact!  ;) ^^


^^ Add water and mix well - the ratio should be about 2 parts plaster of paris to 1 part water. ^^


^^ Gently pour the mixture over the track - an inch or so will do. ^^


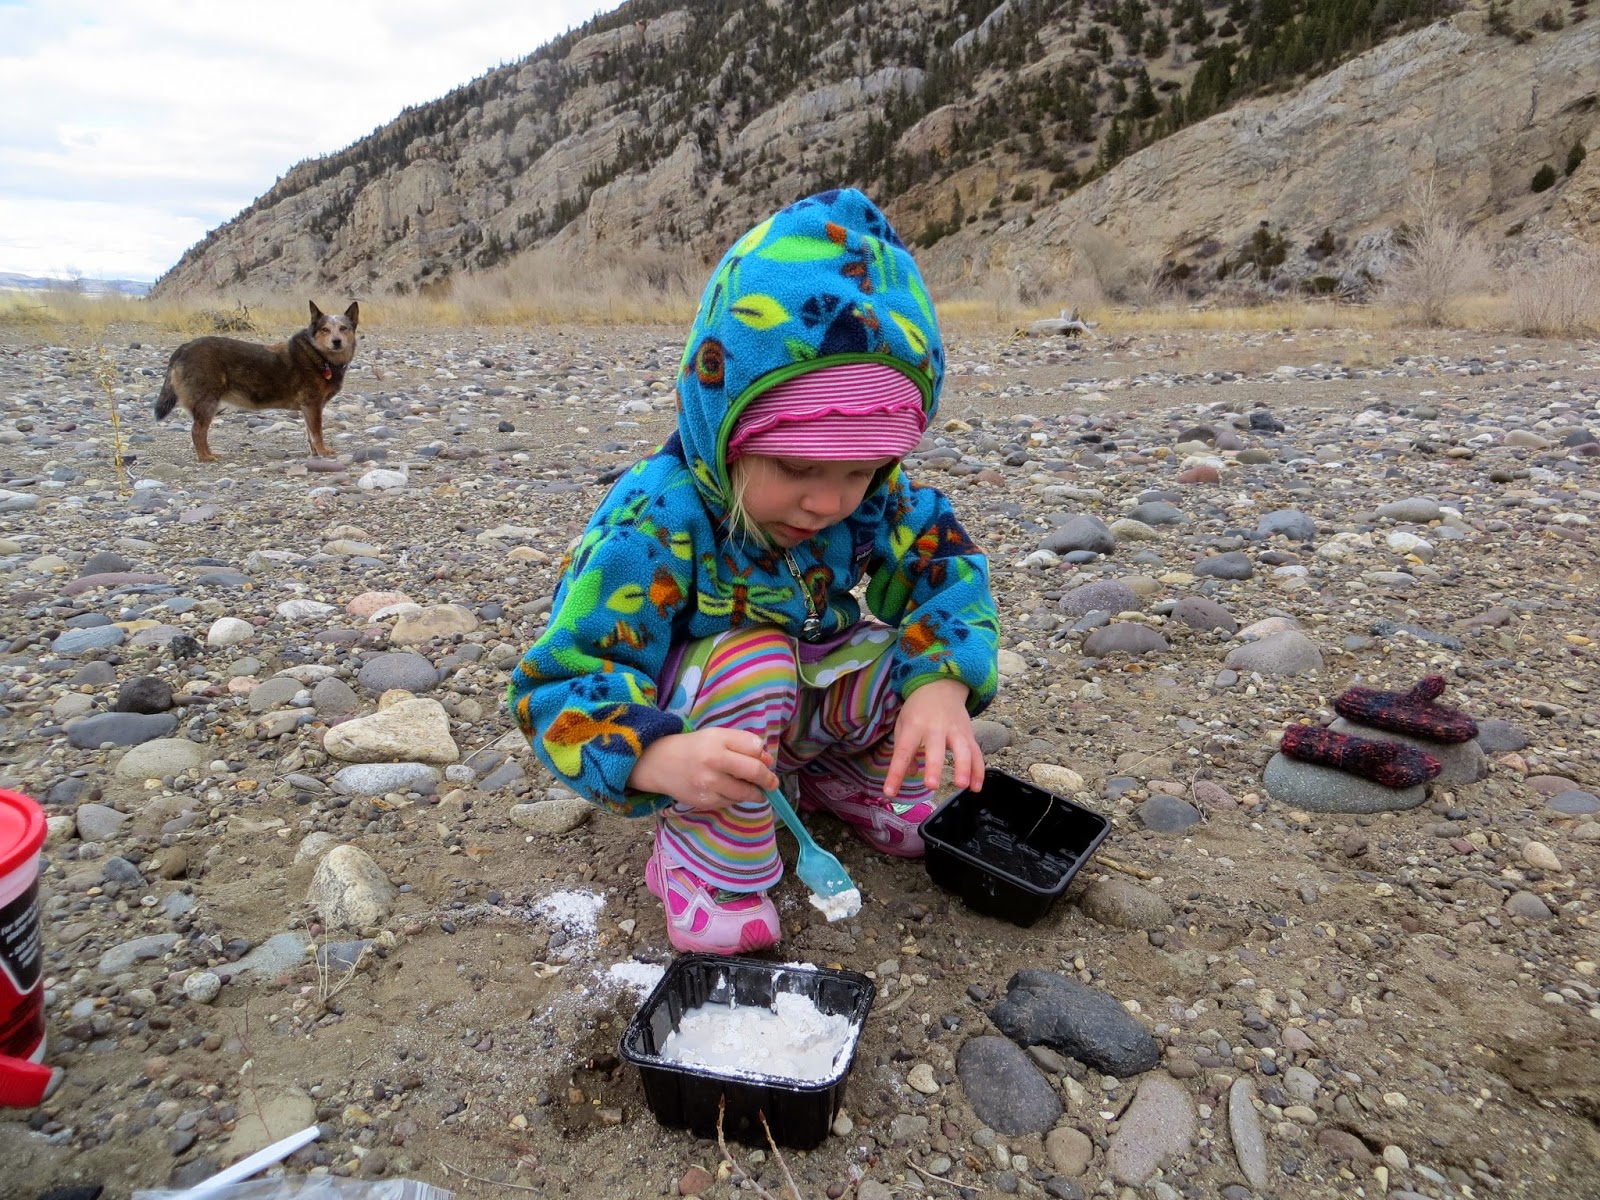
^^ Have a snack - the plaster of paris will take about a half an hour to set. ^^


^^ We had hoped to make a Rosie track, but she was not cooperative - imagine that! ^^


^^ Use the trowel to loosen the soil around the track, and lift it out - wow!  ^^


^^ We let our casts set completely overnight before giving them a good scrub! ^^


^^ Guess that track!  We've been using our field guides to identify the tracks and read about the animals who made them.  I haven't done it yet, but I've been thinking about making a set of animal cards to match with the tracks...  I'll be sure to share them if I do! ^^

Sunday, April 20, 2014

a simple spring experiment


Here's a little something to satisfy those first tingles of spring fever.... I'm sure you know what I'm talking about! Even though there's still snow on the ground and we have to pull on hats before going outside, there's a tiny, warm voice whispering in the wind "GROW!"


Elise and I responded to Mother Nature's call by force-starting some cuttings from trees and shrubs around our neighborhood.  It was basically as easy as cutting a few branches, sticking them in a vase of water, and bringing them inside our warm house - the plants did the rest of the work themselves!  In just a few short days, buds began to open.  Now, two weeks later, the buds have turned into leaves and flowers, and even more thrilling, there are roots!  


An older child would probably enjoy recording the transformation of the branches.  21-month-old Elise and I have enjoyed just discovering -  we've delighted in the tiny green leaves and ever-lengthening roots. Elise's vocabulary now includes buds, leaves, flowers, and roots.  Whenever she spots the tiniest spec of green outside, she exclaims "GROW!"

Here's to Spring! 

Tuesday, January 19, 2010

a penguin experiment

The idea for this experiment came from Chelsea
over at Preschool - What fun we have!

Do you ever imagine
diving into an icy ocean like a penguin?
{AND staying warm and toasty?}

Personally, my fantasies tend to be more on the sunny beach side...
but, the children in my classroom have a special place
in their hearts for arctic mammals
{like penguins, polar bears, and seals}
so we decided to give Chelsea's experiment a try.

First, we plunged our bare hands into a tub of ice water.
{No one was able to keep their hands in long enough for a photo!}

Then, we put on rubber gloves
and gooped our hands up with A LOT of animal fat.
{The gloves saved us all from a seriously huge mess!}

With the fat caked on our hands,
the icy water suddenly felt much warmer...
almost tropical, really.


Not only was it a fun sensory experience,
the children made their own meaningful connections
between fat and warmth.
{I barely said a word!}

Tuesday, November 10, 2009

sink or float

A classic experiment...


Will it sink,
or will it float?

Some of the objects we've been testing:

ping pong balls
sea glass
beads
lava rocks
playground rocks
corks
plastic ice cubes
marbles


When the child discovers whether an object sinks or floats,
he puts it in the "sink" section or the "float" section of a laminated chart.

As you may know, I'm a right-brained kind of gal, and honestly,
I don't blame you if the thought of a laminated chart sounds lame,
BUT it's not lame!

It provides the child with experience in

sorting AND graphing,

AND it leads to comments like,

"Hey! More things sink than float!"

AND everyone, even the non-readers,
are exposed to the words "sink" and "float."


How swell is that?!
Related Posts Plugin for WordPress, Blogger...